
Travel Guitar Build
14 May 2022 | Guitar Hobby WoodworkingI’ve been practicing and playing guitar quite a bit over the last year (one my covid hobbies), and I’ve been buying more equipment than is necessary for my ability level (quite low). When I travel to Taiwan later this year to pick up my kids, I want to bring a guitar with me, but space is limited. I found a $550 travel guitar, but instead, I decided to build my own by sawing up a $35 electric guitar I found on craigslist.
Here’s how I did it…
Oh, first, my supply list:
- electric guitar that has a good sound but that I’m ok losing ($35 on craigslist)
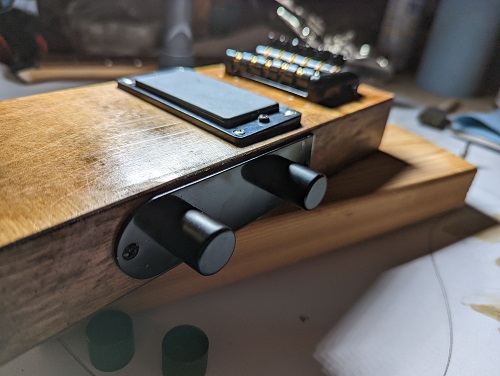
- low form factor control plate
- flat jack plate
- headless guitar bridge kit
Tools & such:
- skil saw
- drill
- tape measure
- circular sander
- table sander (at friend’s house)
- table saw (at friend’s house)
- soldering gun
- honey 272 stain (Lowes)
- polyurethane (clear coat)
- pocket amp
As you can see, this is not a cheap project, clocking in at around $150–still a good deal cheaper than $550, and it’ll have all the “character” of something built by an amateur. I started off by removing the strings, tuners, and neck.
It’s really important to pencil in the range for the strings so that the new bridge has the same max and min string lengths–otherwise it will be impossible to get fully in tune.
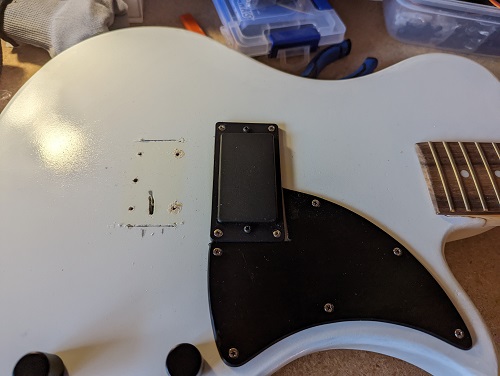
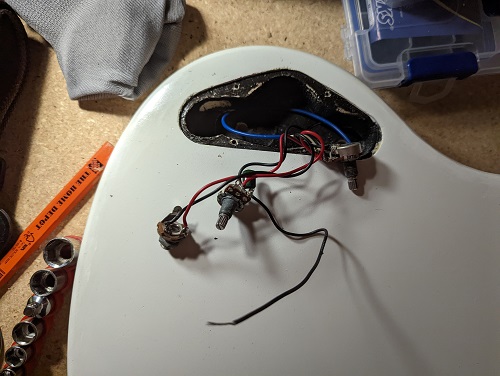
Whenever dealing with electronics you’ll want to put back together, always take a picture for reference. I thought I was going to reuse the pots (potentiometers) but it was simpler just to get the whole control plate.
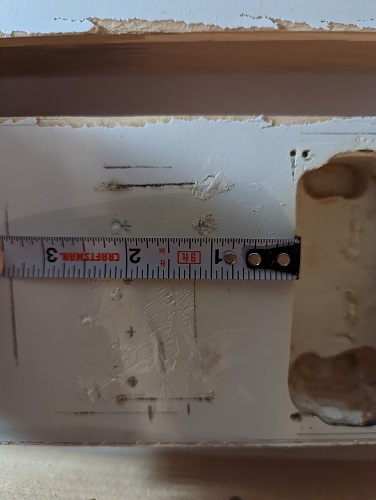
Next, measure out where to cut. I penciled in where and how large the new bridge kit and old pickup went with the intent to leave some wiggle room.
Knowing I was about to to the irreversible, I traced the guitar body on a big piece of paper that I stole from my children’s play room.
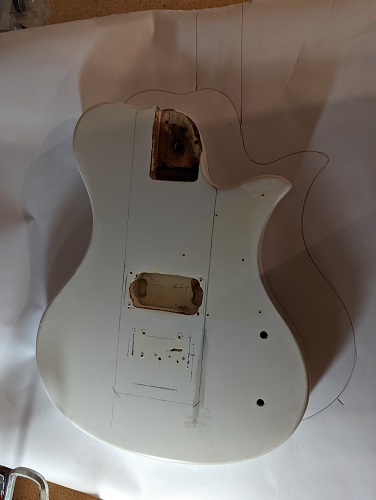
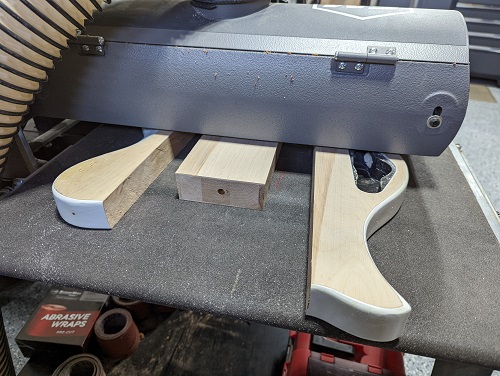
Tada! saw’d into pieces! I chose to saw the two vertical lines first so I could potentially re-attach the arm rest and leg rest later.
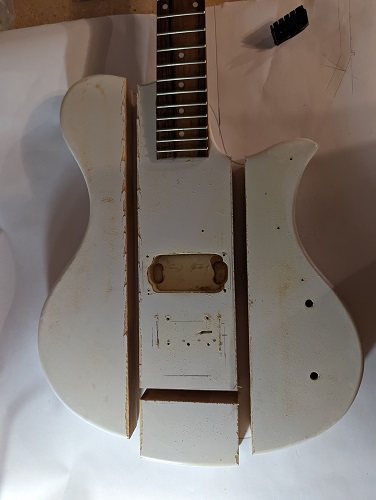
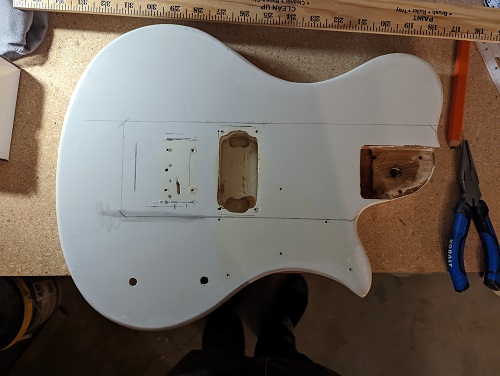
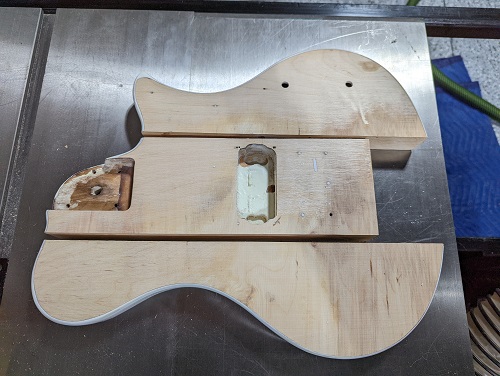
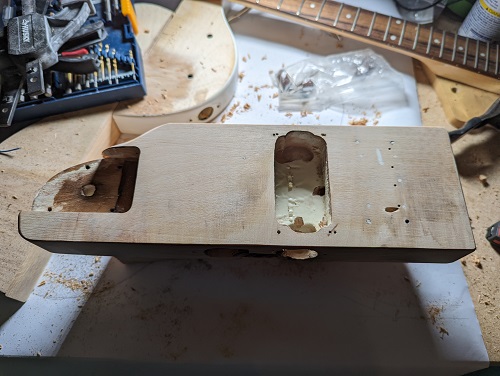
In prep for sanding, I measured, took this picture, and drilled the new guide holes for the new bridge. If the sanding filled the holes, I wanted a way to get back to the right location.
Planning. At this point, I drilled the hole for the output jack and figured out where to put the electronics.
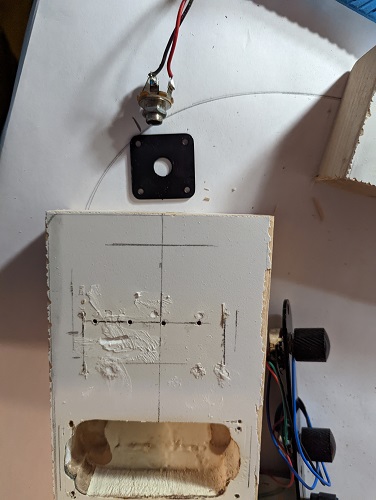
My guitar only had 1 pickup, so I decided to saw off that switch. In retrospect, it added a pretty rough edge to the controls, but I wanted to get rid of extra stuff, so I did.
At that point, I went to a firend’s woodshop and used his table sander to sand the main piece and two sides until all the paint was off. The reason we did all 3 pieces was to make sure they ended up the same thickness for if/when I use them.
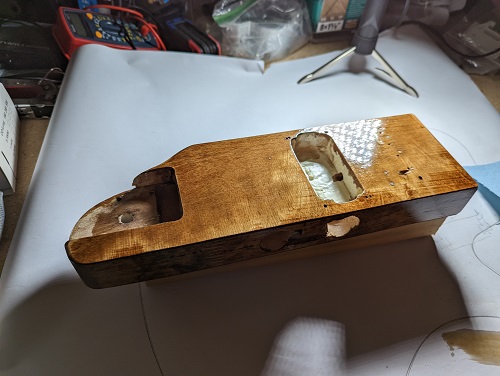
Looks way nicer sanded down:
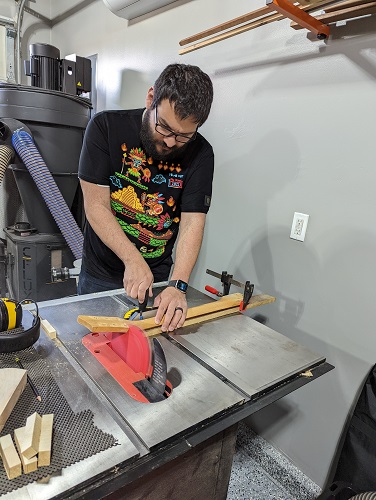
We had to make a jig to cut off the head at just the right angle for the headless piece (that was clearly not 90 degrees). Our plan was to test the angle a few times then slowly move in toward our target height, but we guessed just about perfectly on the angle and the rest was just carefully closing the gap on head length.
Back at my house I took a final picture with all the pieces–then threw out the butt.
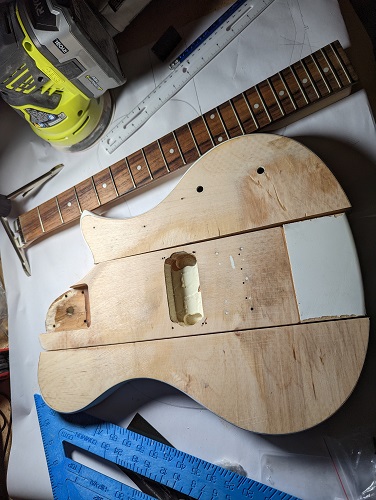
I hand-sanded down the edges, drilled and dremeled appropriate holes in the top for the controls, and drilled the hole for the ground wire to the bridge (almost forgot).
I’ve mentioned pre-drilling screw holes several times, and it’s worth pointing out that the screws are cheap and the wood is hard, so if I didn’t pre-drill, I’d likely have stripped screws and anger-management issues.
Then I stained it with my favorite stain color, waited for it to dry, and slowly added layers of clear coat. This part took the most patience because each layer needed a few hours to dry.
Once it was finally dry, I soldered the wires to the right places based on this diagram (which I found by googling “guitar wiring diagrams 1 pickup”)
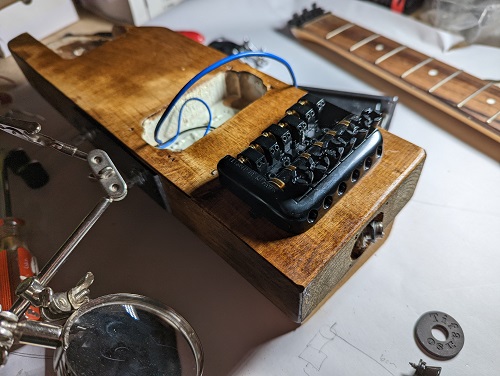
An important and oft overlooked part is the ground wire (not pictured here). It’s the blue wire that snakes up and touches a paint-scraped part of the bridge so that all the metal is grounded and I can avoid any weird static buildup. I had a lot of trouble getting the solder to stick, but I know it’s at least touching.
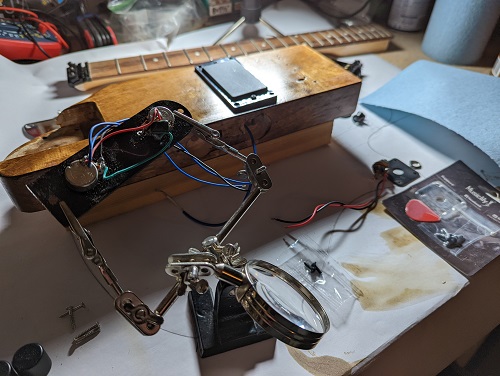
At this point, I was put together enough to test the electronics. How? You ask? I’ll tell you.
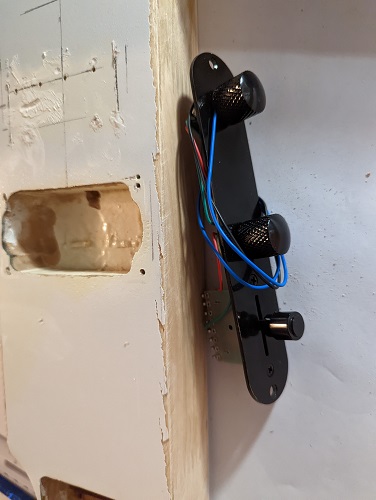
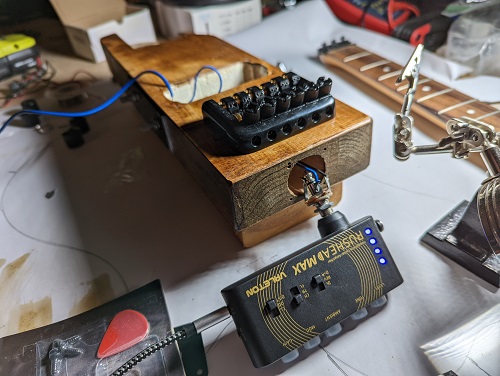
The electronics in an electric guitar are very simple: a vibrating string near an electromagnet transfers through the pots (controls) and to the output. After the output, they need to me amplified (and usually modified) before going to a speaker. The blue strings in this picture go off screen to the pickup (it had a long wire), where I played strings on my other electric guitar and held the guitar very close to the pickup. I was wearing headphones connected to the pocket amp (listed above) plugged into the loose guitar jack.
Some challenges I encountered: my 3.5mm wire connecting my headphones to my amp was bad, so it took me a while to figure out it was the wire and not my new travel guitar. Also, the volume on the guitar controls has to be on and up for the amp to pick up on anything. Sounds obvious, but I was pretty sure I had missed something on the electronics.
But I didn’t. It all worked!
After passing the test, I pushed all the wires where they needed to go and closed up all the openings!
Then I attached the neck, put on strings, and tested it again! I couldn’t believe it was actually working! Then I remembered that a strap is pretty important for a guitar that has no leg brace, so I attached those.
At this point, I tested it again and realized that the jack didn’t go all the way in–I didn’t drill deep enough. I was afraid that I would have to disassemble a lot before I could re-drill that hole, but then I figured out that I could adjust the inner nut on the jack plate by just enough to fit the jack all the way in. So, cautionary lesson: the jack goes in deeper than the jack receiver, test accordingly. I didn’t.
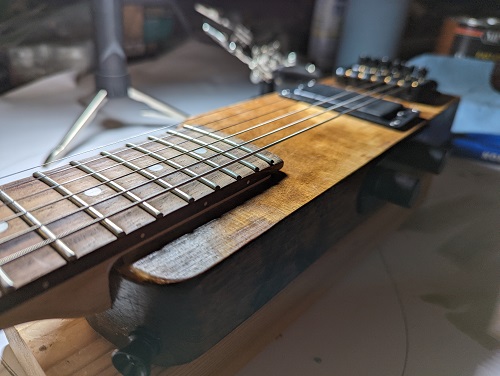
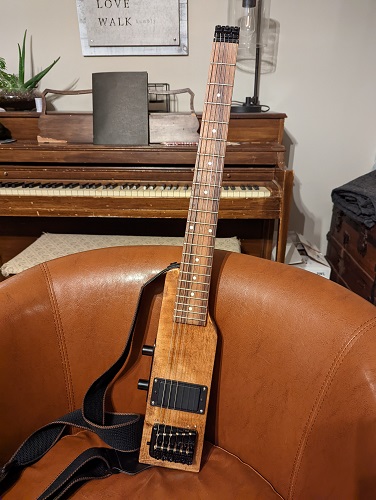
And there it is.
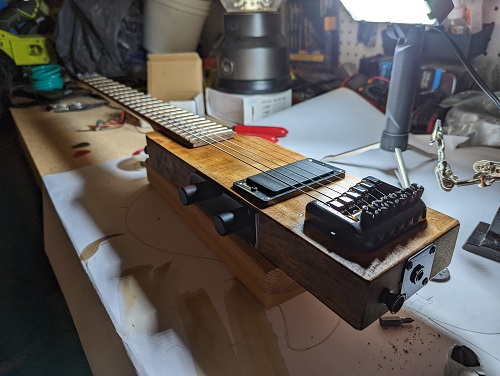
Another picture not in my cave of a garage.
Going forward! I’m not done yet! I still have those two side pieces–the top and bottom. I’ve been brainstorming how to make them re-attachable. I think I have a plan, but it’ll take a bit more work.
In the mean time, I brought it to work, and it’s my nearly silent practice guitar for when I have a long informational meeting where I’m off-camera. I’m excited to bring this thing to Taiwan with me–it was a successful experiment, and I don’t think I need to get the expensive one.